Creating and incorporating moving image /video with Adobe Aftereffects and Adobe XD
Moving image in Adobe XD:
In these practical skills exercise I was aiming to implement moving image into a webpage created in Adobe XD. This exercise is useful as I’ll be implementing moving image in my own web design for a project I’m working on, as it will enhance my webpage interactivity to the next level providing users with video information alongside text and images. Moving image such as video within web can draw users’ attention more effectively as moving image tends to be more of an engaging content type compared to written content.
I’ve done this practical exercises using this Adobe XD tutorial file which is provided with a basic web app layout about plants, however the moving image I’m implementing isn’t linked to the theme of the tutorial example as I’m just experimenting and completing a tutorial to develop my Adobe XD skills rather than focus on the design context.
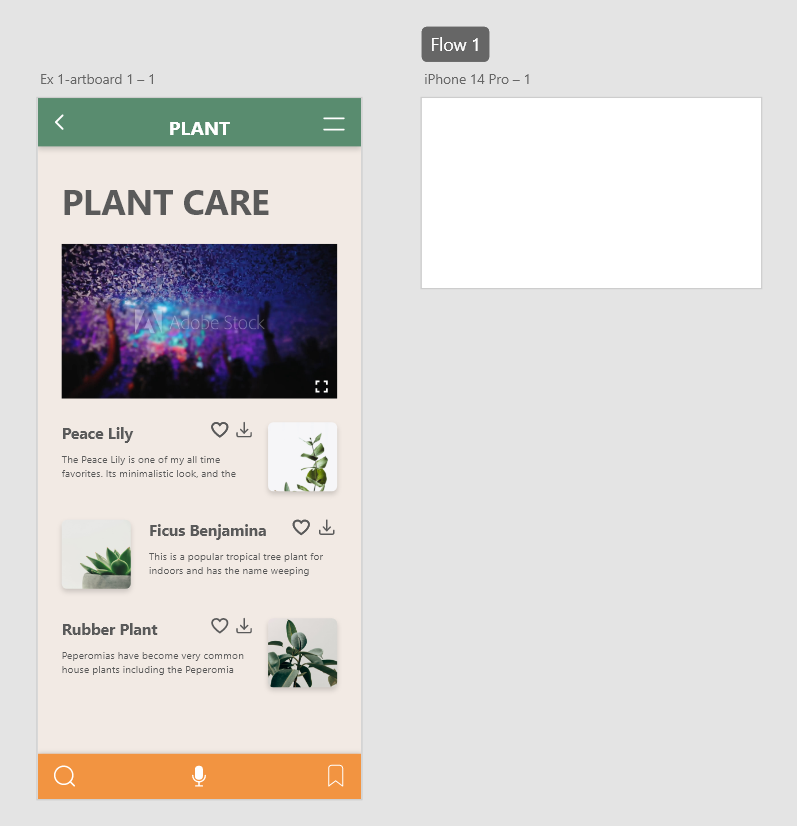
So, I firstly created a rectangle outline where I wanted to place my moving image adjusting the appropriate size ensuring it appears neatly on the layout interface compositionally in line with other elements.
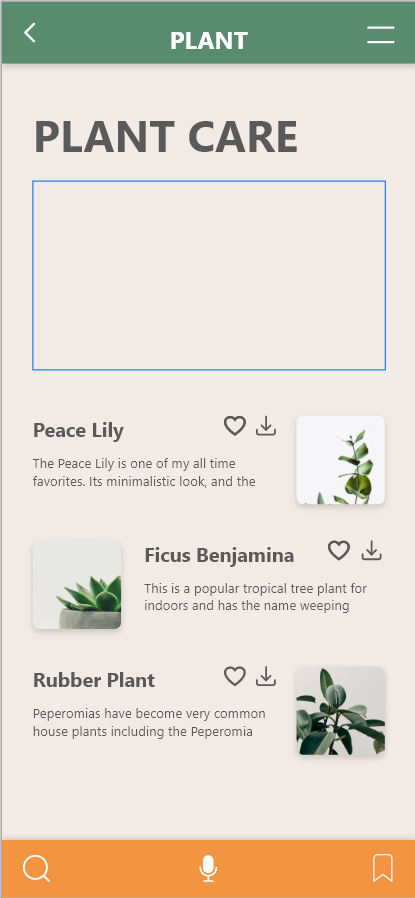

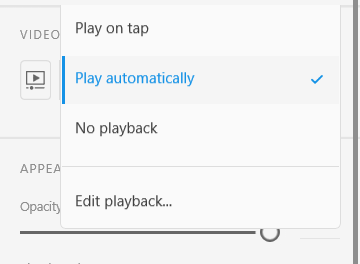
I then dragged the moving image file into the rectangle, I now have this moving image implemented in the web app interface. Once I have my moving image in place, on the right-hand side I have the playback options which I’ve set to ‘Play automatically’ meaning the moving image will function straight away with no actions required. Other options such as ‘play on tap’ will require the users to click on the moving image thumbnail for it to function. And finally, there is also ‘no playback’ option which essentially makes the moving image freeze and not have a playback functionality. I’ve set the moving image to play automatically.
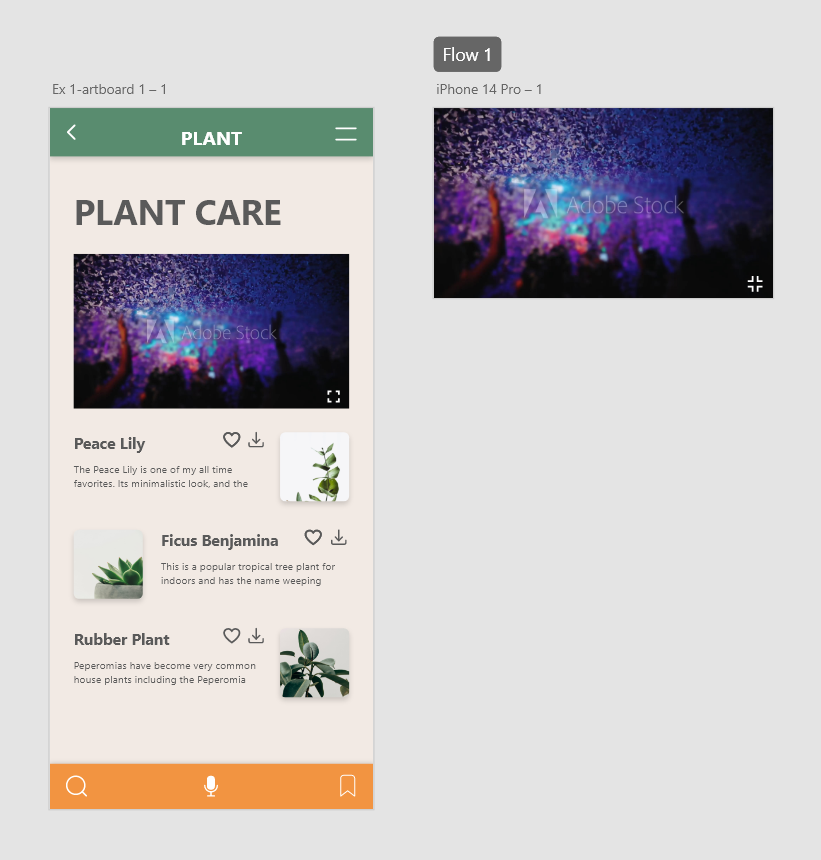
My next step was to add some interactive elements within the moving image, so I’ve implemented a zoom in, zoom out tool by dragging the standard zoom in iconography to the bottom corner of my moving image. To create the transition effect, I’ve created another artboard which will just be covered by the moving image as that is the only thing that should be visible once transitioned into full screen.
After implementing the same moving image onto the new artboard, I’ve added a zoom out icon in the corner just like I did with the zoom in icon in the first artboard. Iconography is a crucial element when creating interactivity within the web as it clearly guides the user through the process.
Finally, once I’ve had all my components in place, I’ve started to prototype the components which is essentially the icing on the cake as this is where I make all the design elements accessible finalising the functionality.
This is how the moving image looked in full screen, it doesn’t look perfect as it could be however, I ensured the functionality works which allows the users to view the video without anything else being portrayed on the screen and obviously providing them the options to go back to the previous viewing page effectively.
I then undertook a second moving image prototype tutorial, similarly to the previous one I’m aiming to create functionality within the video that I have implemented in this example webpage. However, in this tutorial I was required to add a video player icon to my video. I firstly set the video to ‘no playback’ on my first artboard as it is essential a thumbnail for the video with the video player icon placed in the middle. I then did the same for smaller version of the video below which are linked to each individual topic. This is where the importance of prototype comes in especially when dealing with multiple videos ensuring each are linked to the appropriate artboard. However, in this example I’ve used the same video for each section such as ‘Tip 1’ and ‘Tip 2’ which are shown in the example whilst still demonstrating the effective use of appropriate prototyping.
Moving image in Adobe After effects
After experimenting with moving image in Adobe XD I then attempted implementing moving image in Adobe After effects which is a new software for me. Adobe After effects is used by many branding industries to create an effective, engaging visual branding effects that helps to promote the brand through the use of different animations.
These tutorials that I have undertook all focused on the moving elements of type, as After Effects is known to be effective in dealing with type as there are many different options to explore when implementing animation in typography. I’ve attempted four different tutorial examples that implement animation and moving image of type through different variations.
First example is essentially an introduction to the basics of After Effects where I played around with the font, composition and layers ensuring the branding type is neatly presented on the screen.
After establishing the basics I’ve then proceeded to implement some animation, as you can see, I’ve added an individual animation transition to each text just by exploring the wide range of options that I thought work well and look appealing at the same time ensuring the composition is on point by having all my components centralised. I’ve also played around with different effects and decided to incorporate camera lens blur effect as soon as the text begins to fade in, enhancing the overall video.
For my next example, I’ve attempted to make the type stretch portraying an effective moving image within typography that can be implemented in the brand’s videos such as adverts. As you can see the series has a transition which makes the text stretch in and out, as the speed of the transition can be adjusted depending on tone and pace I want to set.
My next exercise, type animation is similar to the previous one where I essentially bring the typography to life. For this exercise I have series of the same type positioned around the edges of the screen creating a sphere look made up of type. I then added a moving animation effect making the type scroll around the screen, to make the animation more interesting and fill up the blank space in the middle I’ve used a repeat method by essentially creating a loop. I’ve ensured that each loop follows a sequence and doesn’t all appear at the same time as that would be seen as less engaging and creative but instead it portrays an effective visual transition.